Thursday, December 8, 2011
My choice for a photographer's tablet.

Tuesday, August 23, 2011
Quick Tip: Minimizing Time in Post

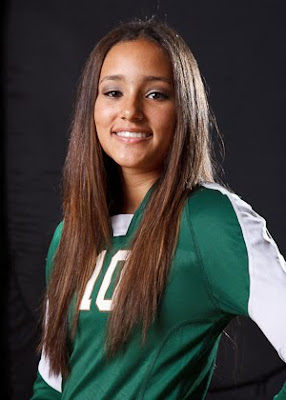
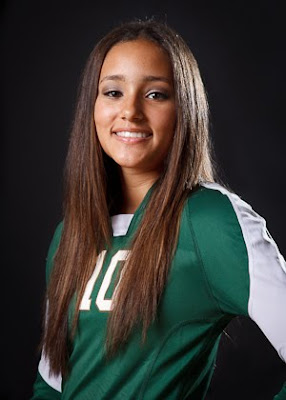
So here's a little situation I found myself in after a shoot at the local high school - all my headshots had visible wrinkles and seams in the background. Looking at the LCD on the back of my camera, I thought I had the background far enough away from the main to be properly underexposed, but after pulling up the images at home I saw that this wasn't the case. They were pretty bad, in the original image to the left, you can see wrinkles in the background and the edge is visible on the left side of the image as well as a seam under the subjects arm.

No biggy right? just clone it out? Well not, if I want to make more than minimum wage on this job. I had to think smart and come up with a way that I could quickly correct the days shoot in the minimum amount of time. The technique I found worked quite well and, more importantly it was fast. Round trip from Lightroom to Photoshop and back was less than 2 minutes - I think the results (right) were believable and I know It would have took me at least 4 times as long if I were to try and clone or paint my way out of this mess. While the main take away from this job could have been 'get it right in camera' I think it really stressed the importance of taking a second look at how you approach a problem in photoshop and consider alternative solutions rather than jump to the first technique you know, cause it could save you a whole bunch of time.
Tuesday, April 12, 2011
Lazyleg Clamp
Close up of the LL Clamp a video by photogeek21 on Flickr.
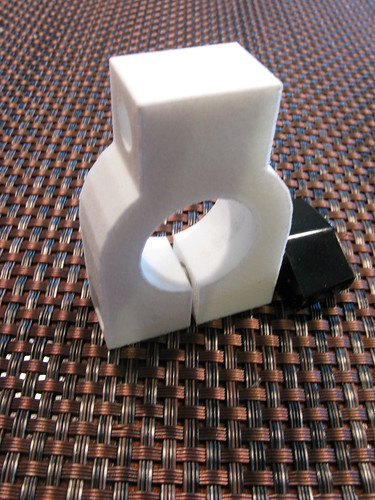
So here's my 3D printed part in action. It basically makes one of the three legs of my lightstand adjustable so you can use them on uneven ground.
3D printing - prototyping on the cheap
I had an idea for a modification to my lightstands to make them have the same adjustability as some of the more expensive models. All I needed was a simple split collar clamp with a mount for the struts of the stand.
In years past I had access to the machine shop at work and could have whipped something like this up in a couple hours but now I'd have to look at paying a machine shop $60-70/hr to make it for me - I might as well just buy new lightstands.
I found a on-line service that takes your solid model and uses a 3d printer to turn it into a real world object. They are typically some sort of thermal plastic which would be fine in my case. So using Google's sketchup, I created the solid model of my idea and sent it off - 10 days later I got my part in the mail, tested it out, and by golly it worked the first time - you'd think I was some kind of engineer or something...
I didn't gage the part to see how accurate it was but my slip fit diameters were good. I thought the whole process was pretty cool and I think you'd be able to make some pretty complicated parts that may not be possible in a machine shop - like a hollow bodied part for example.
Cost is based on volume of the part rather than machine time so depending on the part it could work out to be much cheaper than machining. My part here was $26 which is probably expensive for what it is but I couldn't of had a machine shop make that for me at that price.
Thursday, February 3, 2011
Shoot of another sort
My best finish yet at the Western States Single Stack Championship. 31st overall, and 3rd in class.
